Creating a new project
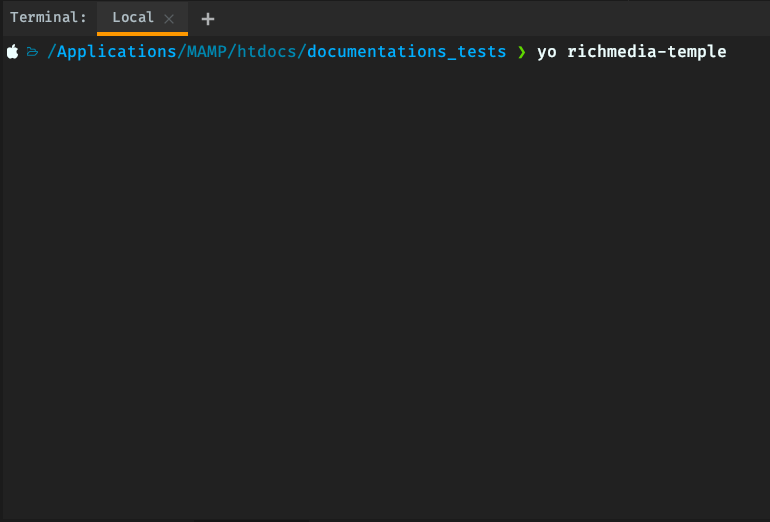
In the terminal, make your way to a new project folder of your choosing, i.e. documents/work/my-banner-project
Step 1
Generate (scaffold) a new banner project. This will generate all the necessary files and folder structure you need for the project.
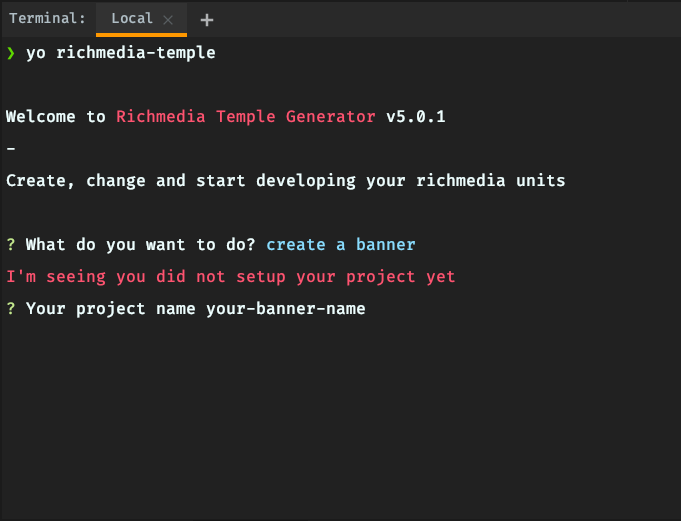
$ yo richmedia-temple
If this is the first time you’re running this command, Yeoman will ask you the following:
We're constantly looking for ways to make yo better!

May we anonymously report usage statistics to improve the tool over time?

More info: https://github.com/yeoman/insight & http://yeoman.io

Up to you if you want to send them statistics. Hit either **Y** or **N**.
After you make your selection, the following menu appears
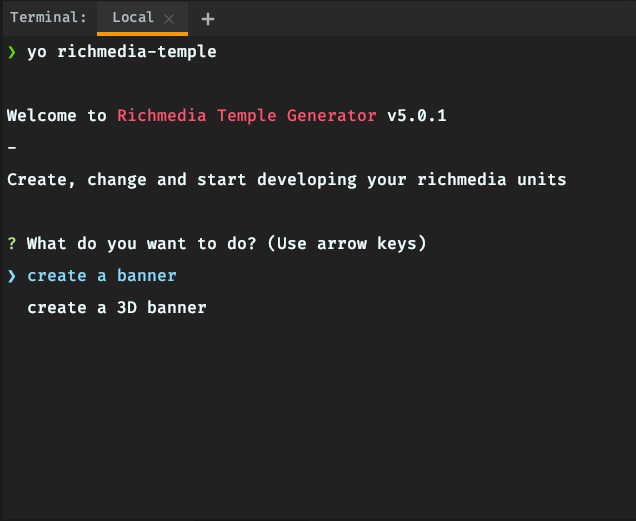
In this menu you can use the arrow keys to navigate the cursor.
Step 2
We’re just going to create a standard banner in this guide, so in this case, just hit Enter to select
‘create a banner’.
Enter the name of the project or just hit enter to use the default, which is the folder name.
Step 3
Select the first unit you would like the generator to create. Use the arrow keys to navigate and hit Enter when ready.
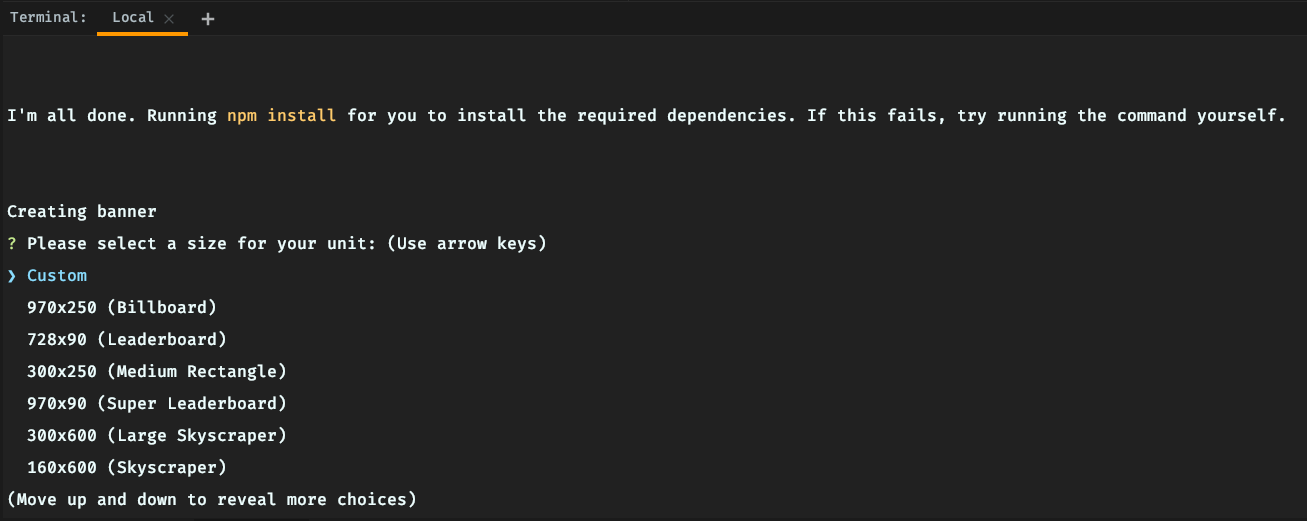
Enter the directory where you wish the source files to be placed. Just hit enter to use the default, which is something like “./src/{size}x{width}”
Select the type of banner (refer to types of banners for more info)

For the purposes of this guide, select ‘plain’.
The generator will generate the basic template files and install the according node modules as well. This process will take a minute.
When it’s done, you’ll end up with a directory looking something like this
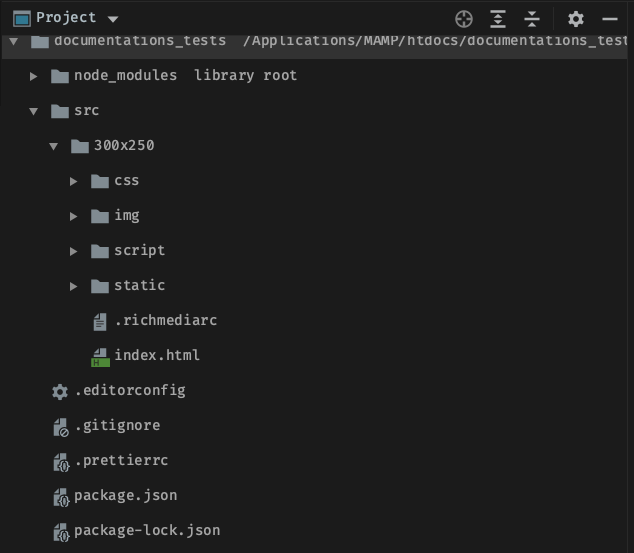
/node_modules/
/src
-
/300x250 (assuming you created a 300x250)
- /css/
- styles.css
- /img/
- 1x1_blank.png
- /script/
- Animation.js
- Banner.js
- main.js
- /static/
- 1x1_blank.png
- .richmediarc
- index.html
- /css/
.editorconfig
.gitignore
.prettierrc
package.json (more info)
package-lock.json
Step 4
Make sure everything works by running
$ npm run dev (more info)
This will start the server. You’ll see something like
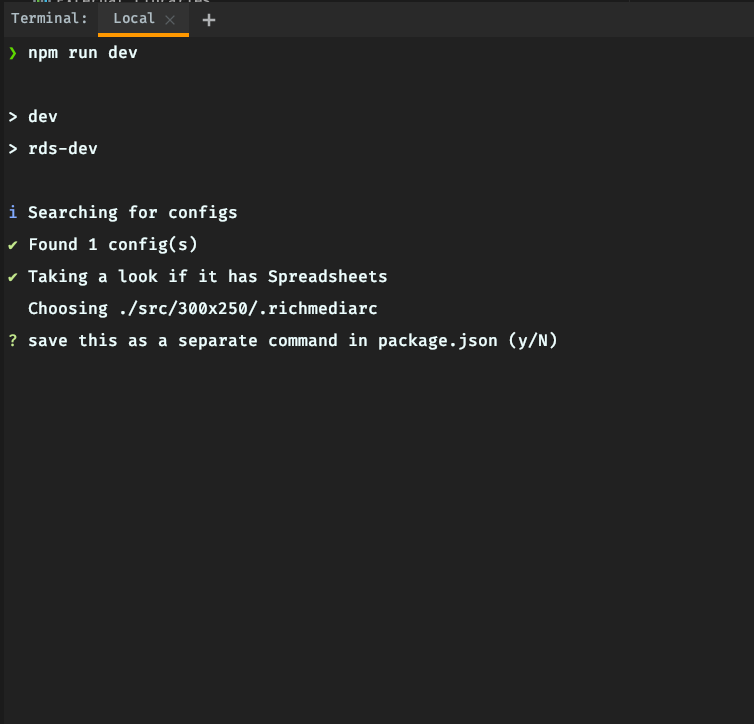
Press N

Your primary browser will launch, opening http://localhost:8000/
In your terminal, you’ll be able to see the output of webpack, compiling the source code.

In your browser, the preview environment will load along with a preview of the compiled version of the banner you just created. The banner should display as a simple unit with a red background.
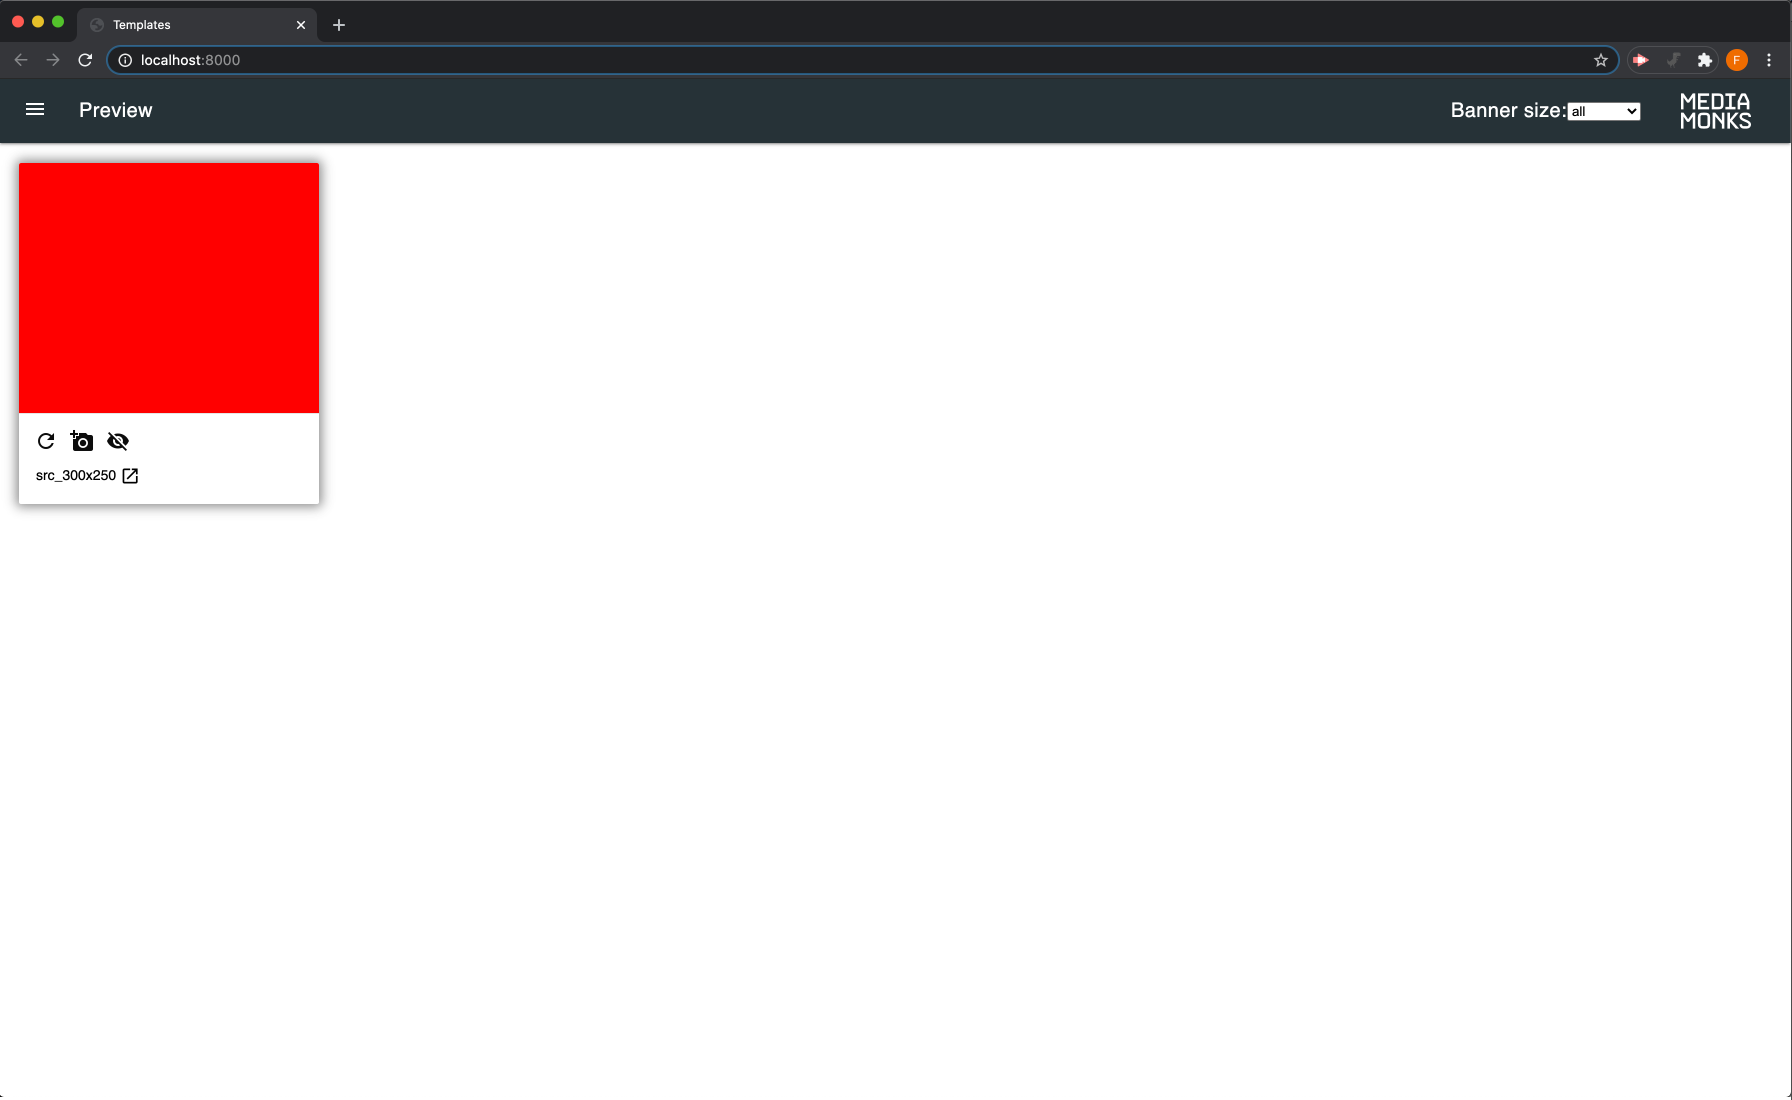
If there are no javascript errors and everything works fine, that’s it!