Start the server
What is the Display Development Server?
To explain this as fast as possible, the DDS (display dev server) is a build and development server to develop and build display units as fast as possible.
It does this by setting up a Webpack environment where ever it finds a [.richmediarc] file. Why? Because its faster to just use the same webpack and webpack.config for every display advertising unit, instead of creating one for every single unit.
Running the DDS
To start the dev server, type the following command in your terminal:
npm run dev
“Dev” is actually a script which is found in [package.json], which in turn runs the command rds-dev.
After you execute this script, it will start searching for .richmediarc files in all the directories and subdirectories of your project.
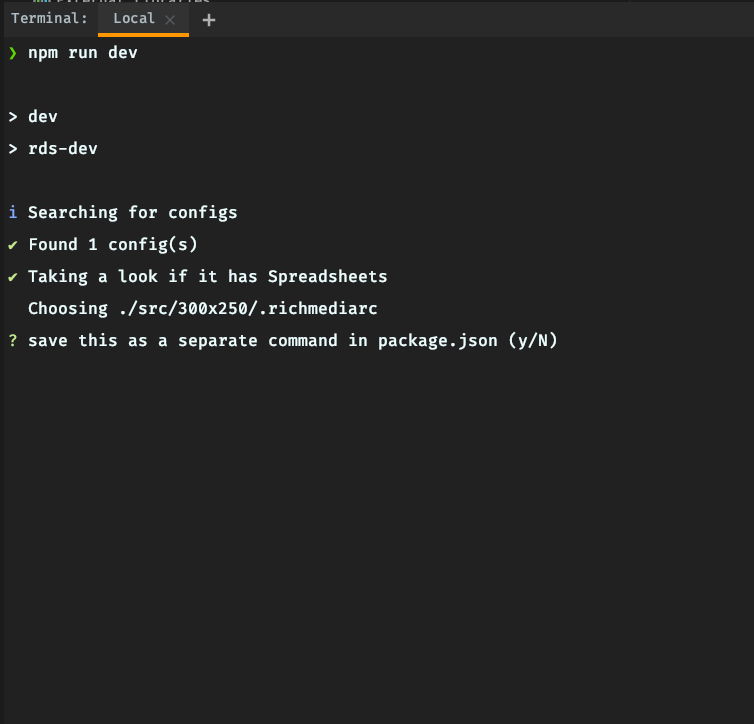
You’ll see something like this:
i Searching for configs
✔ Found 4 config(s)
✔ Taking a look if it has Spreadsheets
? Please select config(s) build: (Press <space> to select, <a> to toggle all, <i> to invert selection)
>( ) all
 ( ) ./src/300x250/.richmediarc
 ( ) ./src/300x600/.richmediarc
 ( ) ./src/728x90/.richmediarc
 ( ) ./src/970x250/.richmediarc
Here, you can select which units you wish to preview. Navigate with arrow keys and select (it’s possible to select multiple values)
with spacebar, then press enter to confirm your selection.
Do you want a browser to open to your dev location? (Y/N)
You can select to open a new browser window or not.
Save this as a separate part command in package.json (Y/N)
Use this option to save your selection as a separate command. If you select Y, you’ll see something like this:
Please provide a name for your command. You will type something like npm run dev:__NAME__
No special chars, spaces, dashes just a single word. You’ll have to give it a unique name, for example “selection”.
Now you will be able to run a dev server with the same selection simply by running
npm run dev:selection
It will now compile the banners you selected and start a local server on port 8000. You can see the preview at http://localhost:8000.
If port 8000 is busy, it will automatically use the next available port, 8001, 8002, etc.
Important You don’t have to restart the server if you make any changes to your banner’s code. It will automatically recompile your units when it detects changes in the source code..
Make sure everything works by running:
npm run dev
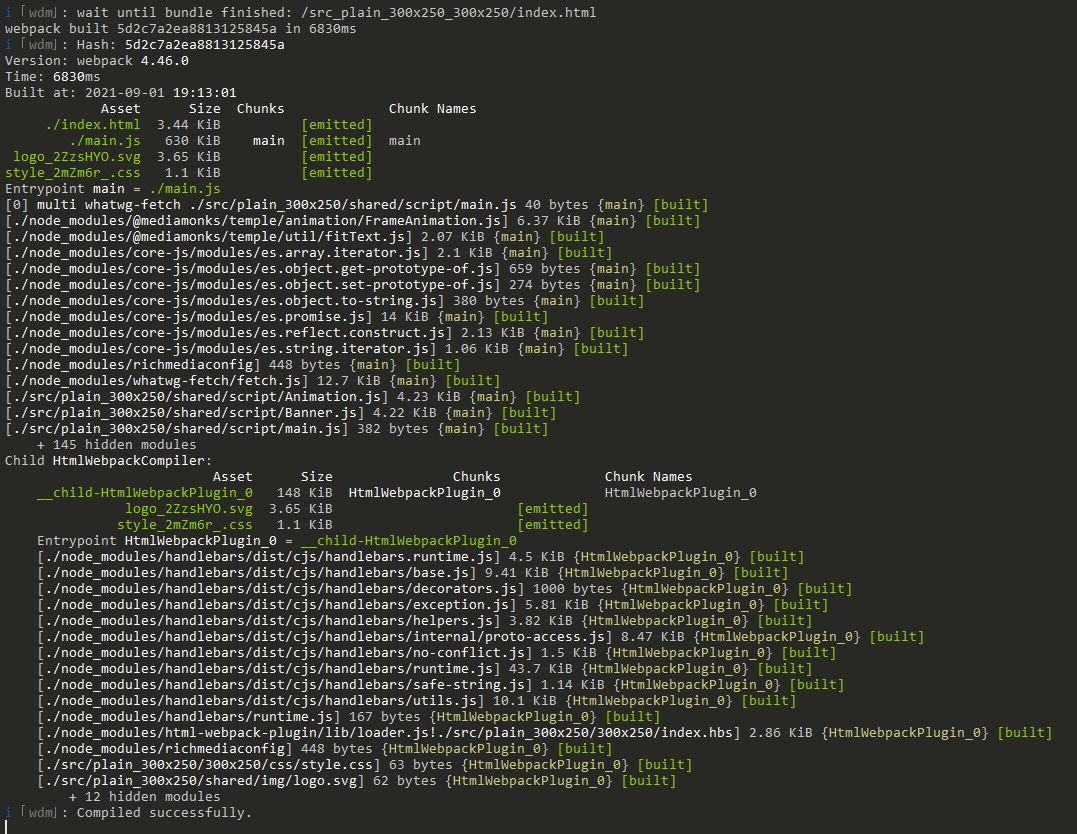
This will start the server. You’ll see something like this.
Press N

Your primary browser will launch, opening http://localhost:8000/
In your terminal, you’ll be able to see the output of webpack, compiling the source code.
In your browser, the preview environment will load along with a preview of the compiled version of the banner you just created. The banner should display something like this.
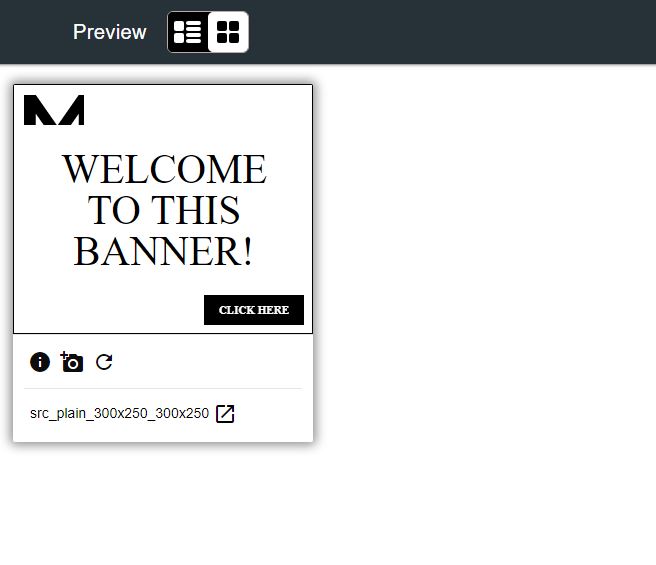
If there are no javascript errors and everything works fine, that’s it!